Ever wondered why your home recordings don't quite capture the same magic as a professionally produced track? The secret sauce often lies in your mic to computer interface – the crucial link that translates your sound into digital data. Getting this connection right is the foundation for high-quality audio.
At a glance:
- Discover the vital role an audio interface plays in improving your recording quality.
- Learn how to correctly connect both USB microphones and standard microphones to your computer.
- Optimize your microphone settings and recording software for the best possible sound.
- Troubleshoot common audio issues like latency, noise, and signal problems.
- Understand the difference between USB mics and traditional mics with interfaces and when to choose which.
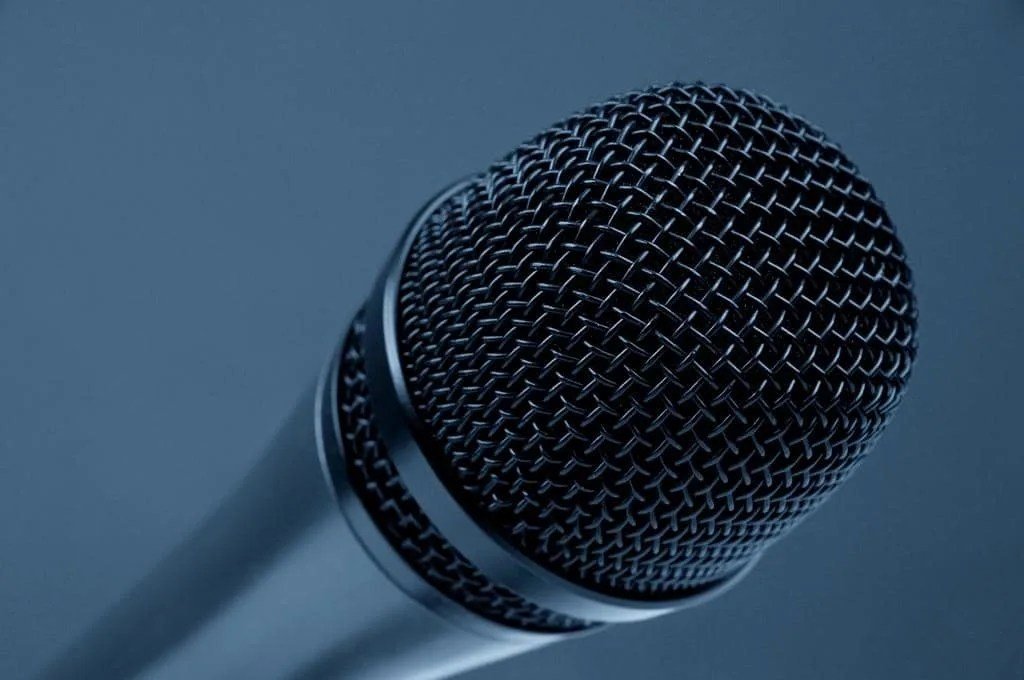
Why Your Mic to Computer Interface Matters
Think of your computer's built-in sound card as a basic translator. It can understand audio, but it's not fluent. A dedicated mic to computer interface acts as a professional interpreter, offering higher fidelity conversion, lower noise, and greater control over your sound. It's the difference between a muffled phone call and a crystal-clear studio recording. This is especially true when recording music, podcasts, or any audio where clarity and detail are paramount.
Understanding Your Options: USB Mics vs. Audio Interfaces
When connecting a mic to your computer, you have two primary choices: USB microphones and traditional microphones paired with an audio interface. Both get the job done, but each comes with its own set of pros and cons.
USB Microphones: These mics are self-contained units that plug directly into your computer via USB. They house the microphone capsule, preamp, and analog-to-digital converter (ADC) all in one package. They're known for their simplicity and portability.
Audio Interfaces: An audio interface is an external device that connects to your computer and provides inputs for standard microphones (usually XLR or TRS connections), instruments, and other audio sources. These interfaces contain high-quality preamps and ADCs, resulting in a cleaner, more professional sound. Here are a few options, depending on the surrounding content: * Set up your home studio * Simplify your audio recording * Learn about audio interfaces * Choose the right audio interface * Improve your recording setup
Here's a Quick Comparison:
| Feature | USB Microphone | Audio Interface + Standard Microphone |
|---|---|---|
| Setup | Simple, plug-and-play | More complex, requires cabling and settings |
| Sound Quality | Good for basic recording, less flexibility | Excellent, professional-grade quality |
| Portability | Highly portable | Less portable, requires multiple components |
| Cost | Generally less expensive | Can be more expensive, especially with quality mics |
| Flexibility | Limited options for expansion | Highly flexible, supports multiple inputs |
Connecting a USB Microphone to Your Computer
Connecting a USB microphone is usually straightforward:
- Cables: Ensure you have a USB cable compatible with your microphone.
- Connect: Plug the USB microphone into a USB port on your computer.
- Select Input: In your computer's sound settings (usually found in the system preferences or control panel), select the USB microphone as your input device.
- Recording Software: Open your recording software (DAW) and select the USB microphone as the input source for your track.
- Test: Speak into the microphone and monitor the signal in your recording software.
Example: Imagine you're recording a quick voiceover for a YouTube video. A USB mic is perfect. Plug it in, select it in your system settings, open Audacity (free audio editing software), and hit record.
Connecting a Standard Microphone to Your Computer via Audio Interface
Connecting a standard microphone via an audio interface requires a bit more setup, but the sound quality is worth the effort.
- Cables: You'll need an XLR cable (for most professional microphones) or a TRS cable to connect the microphone to your audio interface.
- Connect Microphone: Plug the microphone into the appropriate input on your audio interface.
- Connect Audio Interface: Use the USB or Thunderbolt cable provided with your audio interface to connect it to your computer.
- Power On: Power on the audio interface. Some interfaces require external power.
- Install Drivers: Install the necessary drivers for your audio interface (usually available from the manufacturer's website).
- Select Input: In your computer's sound settings, select the audio interface as your input and output device.
- Recording Software: Open your recording software and select the audio interface as the input source for your track.
- Adjust Gain: Adjust the input gain on the audio interface until you achieve a healthy signal level without clipping.
Example: Suppose you're recording vocals for a song. You'd connect your condenser microphone to your audio interface using an XLR cable, enable phantom power (+48V) on the interface (if required by your microphone), and then adjust the gain knob until the signal meter in your DAW shows a strong, but not peaking, level.
Optimizing Microphone Settings on Your Audio Interface
Once you've connected your microphone, it's crucial to optimize the settings on your audio interface to achieve the best possible sound.
- Gain Control: The gain control adjusts the input level of the microphone signal. Start with the gain low and gradually increase it until the signal is strong enough without clipping (distortion caused by exceeding the maximum input level).
- Phantom Power: Condenser microphones require phantom power (typically +48V) to operate. If you're using a condenser microphone, make sure to enable phantom power on your audio interface. Dynamic microphones do not need phantom power.
- Polar Patterns: Some microphones have selectable polar patterns. Experiment with different polar patterns to find the one that best suits your recording environment and the sound you're trying to capture. Cardioid picks up sound directly in front of the mic and rejects sound from the rear. Omnidirectional picks up sound equally from all directions. Figure-8 picks up sound from the front and rear while rejecting sound from the sides.
- Monitoring: Use direct monitoring (if available on your audio interface) to hear your microphone signal in real-time without latency (delay). If direct monitoring isn't available, use software monitoring in your recording software, but be mindful of potential latency issues.
Configuring Your Recording Software
Your recording software (DAW) also requires proper configuration to work seamlessly with your mic to computer interface.
- Select Input Device: In your DAW's audio preferences, select your USB microphone or audio interface as the input device.
- Sample Rate and Bit Depth: Match the sample rate and bit depth settings in your DAW to the settings on your audio interface. Common sample rates include 44.1 kHz, 48 kHz, and 96 kHz. Common bit depths include 16-bit and 24-bit. Higher values generally mean better audio quality, but also larger file sizes.
- Monitoring: Choose direct monitoring (if available) or software monitoring. If using software monitoring, adjust the buffer size in your DAW's audio preferences to minimize latency. A smaller buffer size reduces latency but may increase CPU load.
- Input Levels: Adjust the input level on the track in your DAW to avoid clipping. Aim for a signal level that peaks around -6dBFS.
- File Settings: Choose the appropriate file type for recording, usually .wav or .aiff for uncompressed audio, or .mp3 for compressed audio (smaller file size, but lower quality).
- Test: Record a short sample and play it back to ensure everything is working correctly.
Example: You're using Ableton Live. Go to Preferences -> Audio. Under "Audio Device," select your audio interface. Then, create an audio track, and in the track's input settings, select the specific input channel on your interface where your microphone is plugged in.
Troubleshooting Common Audio Issues
Even with proper setup, you might encounter audio issues. Here's how to troubleshoot some common problems:
- No Sound/Signal:
- Check all connections (microphone, cables, audio interface, computer).
- Ensure the microphone is powered on (if applicable).
- Verify that the correct input device is selected in your computer's sound settings and recording software.
- Adjust the gain on the audio interface.
- Make sure phantom power is enabled if you're using a condenser microphone.
- Try a different USB port or cable.
- Latency (Delay):
- Update your audio interface drivers.
- Reduce the buffer size in your recording software.
- Use direct monitoring (if available).
- Consider upgrading your computer's processor and RAM.
- Noise/Distortion:
- Check for interference from other electronic devices.
- Adjust the gain on the audio interface to avoid clipping.
- Use a pop filter or windscreen to reduce plosives and wind noise.
- Ensure your cables are in good condition and properly shielded.
- Incompatibility:
- Check the manufacturer's website for driver updates and compatibility information.
- Ensure your operating system and recording software are compatible with your audio interface.
- Consider upgrading your equipment if necessary.
Example: You're getting a buzzing sound in your recording. First, check that all your cables are securely connected. Then, try moving your microphone and audio interface away from any potential sources of interference, like your computer or power adapters. If the buzzing persists, try a different XLR cable.
Making the Right Choice: A USB Mic or An Audio Interface?
Deciding between a USB mic and an audio interface depends on your needs and budget.
Choose a USB microphone if:
- You need a simple, plug-and-play solution.
- You're on a tight budget.
- You primarily record voiceovers, podcasts, or basic instrument demos.
- Portability is a high priority.
Choose an audio interface if: - You need high-quality audio recordings.
- You plan to record multiple instruments or microphones simultaneously.
- You want greater flexibility and control over your sound.
- You're serious about music production or professional audio work.
- You want to use traditional XLR microphones.
Quick Start: Your Mic-to-Computer Interface Setup
- Assess Needs: Determine recording requirements (voice, instrument, multi-track).
- Choose Interface: Pick USB mic (quickstart) or Audio Interface (pro).
- Connect: Match cables, plug in cleanly, power up correctly.
- Configure Software: DAW settings, input/output, buffer size.
- Test Signal: Adjust gain, and monitor levels for clarity.
Quick Answers: Common Questions about Mic to Computer Interface
Q: Do I need an audio interface if I have a USB microphone?
A: No, USB microphones have built-in audio interfaces. You only need a separate audio interface if you're using a standard microphone (XLR or TRS connection).
Q: What is phantom power, and do I need it?
A: Phantom power is a DC voltage (usually +48V) supplied by an audio interface to power condenser microphones. Dynamic microphones do not require phantom power.
Q: What is latency, and how can I reduce it?
A: Latency is the delay between when you make a sound and when you hear it back through your headphones or speakers. You can reduce latency by updating your audio interface drivers, reducing the buffer size in your recording software, and using direct monitoring (if available).
Q: What are sample rate and bit depth, and how do they affect audio quality?
A: Sample rate is the number of samples taken per second to represent an audio signal. Bit depth is the number of bits used to represent each sample. Higher sample rates and bit depths generally result in better audio quality but also larger file sizes.
Q: My computer only has one USB port. Can I use a USB hub?
A: While you can use a USB hub, it's generally recommended to plug your audio interface directly into a USB port on your computer for optimal performance. If you must use a hub, choose a powered USB hub.
Take Control of Your Sound
Connecting a mic to your computer might seem simple, but mastering the nuances of mic to computer interfaces unlocks a world of sonic possibilities. By understanding the differences between USB microphones and audio interfaces, optimizing your settings, and troubleshooting common issues, you can elevate your recordings from amateur to professional. Take the time to experiment and find what works best for your specific needs and recording environment. Your ears (and your listeners) will thank you.