Tired of your recordings sounding…well, amateurish? A good audio interface is the bridge between your musical ideas and professional-sounding results. It's more than just a sound card; it’s your studio's central hub, responsible for capturing clean audio and delivering it to your computer.
At a glance:
- Learn how to choose the right audio interface based on your needs and budget.
- Understand key specifications like bitrate, sample rate, and connectivity.
- Discover practical tips for setting up your interface and troubleshooting common problems.
- Get recommendations for specific audio interfaces best suited for beginners.
- Learn what features to prioritize based on your musical style and recording setup.
Why a Good Audio Interface Matters
Your computer's built-in sound card isn't designed for the demands of music production. It often introduces noise, lacks the necessary inputs and outputs for instruments and microphones, and provides limited control over your recording. A good audio interface solves these problems by offering:
- Improved sound quality: High-quality preamps and converters capture a cleaner, more detailed sound.
- Versatile connectivity: Easily connect microphones, instruments, headphones, and studio monitors.
- Lower latency: Reduce the delay between playing an instrument and hearing it through your speakers or headphones, making recording a more natural experience.
- Professional features: Gain access to tools like phantom power for condenser microphones, direct monitoring for zero-latency feedback, and software control over your audio.
Understanding Key Specifications
Choosing the right audio interface involves understanding some key technical specifications. Don't be intimidated – we'll break it down.
- Inputs and Outputs (I/O): This refers to the number of physical connections on the interface. Consider how many microphones and instruments you plan to record simultaneously. For example, a singer-songwriter who records vocals and guitar might only need two inputs, while a band recording live drums would need significantly more.
- Preamps: These amplify the weak signals from microphones to a usable level. Look for interfaces with clean, transparent preamps that don't add unwanted color to your sound. Note: some interfaces, like the Audient iD4, may only have one mic preamp, which is fine if you don't need to record multiple mics simultaneously.
- Analog-to-Digital (A/D) and Digital-to-Analog (D/A) Converters: These convert analog audio signals (from microphones and instruments) into digital signals your computer can understand, and vice versa. Higher-quality converters result in more accurate and detailed sound.
- Bitrate and Sample Rate: Bitrate (measured in bits) determines the dynamic range of your audio signal, and sample rate (measured in kHz) determines the frequency range. Aim for at least 24-bit audio (offering ~144dB of dynamic range) and a sample rate of 44.1 kHz or 48 kHz. While higher sample rates (e.g., 96 kHz, 192 kHz) can capture more detail, they also require more processing power.
- Connectivity (USB, Thunderbolt): USB is the most common connection type. Thunderbolt offers faster speeds and lower latency but is typically found on higher-end interfaces. USB-C is becoming increasingly popular and offers similar performance to Thunderbolt in some cases. While some interfaces claim USB 3.0 compatability, older interfaces like the PreSonus AudioBox USB 96 were designed for USB 2.0 and may have issues on more modern ports.
- Latency: Latency is the delay between playing a note or speaking into a microphone and hearing it through your speakers or headphones. Lower latency is crucial for a smooth recording experience. Look for interfaces with low-latency drivers, often achieved by using software from ASIO.
- Direct Monitoring: This feature allows you to hear your input signal directly from the interface, bypassing the computer and DAW, resulting in zero-latency monitoring.
Choosing the right audio interface can be tricky but it's an essential step in a music career. Here are a few options, varying slightly in emphasis: * Beginner Audio Interface Guide * Choosing Your First Audio Interface * Best Audio Interface for Beginners * Simple Audio Interface Setup * Start Recording: Audio Interfaces
What to Look for in a Beginner-Friendly Audio Interface
For aspiring musicians, ease of use and affordability are key. Here's what to prioritize:
- Simple Setup: An interface that's easy to install and configure, with clear instructions and user-friendly software.
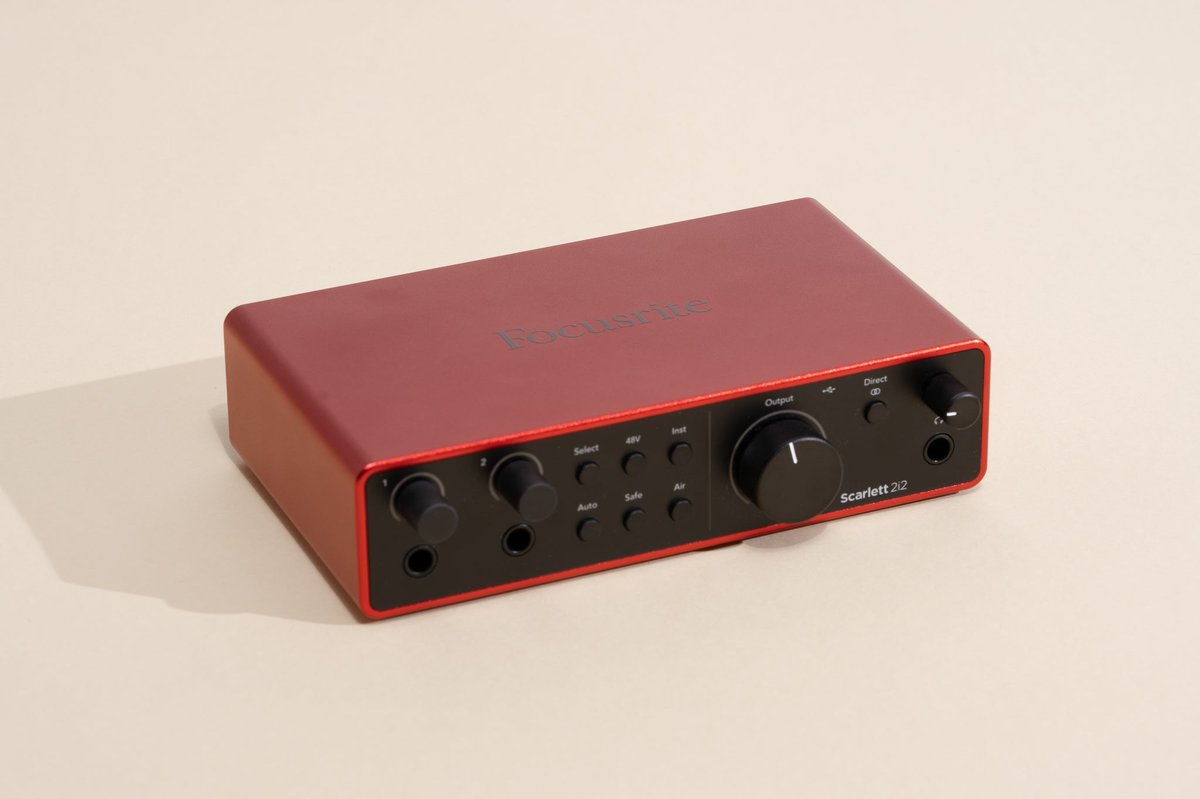
- Adequate I/O: Choose an interface with enough inputs and outputs for your current and immediate future needs. A 2-in/2-out interface like the Focusrite Scarlett Solo or PreSonus Studio 24c is a great starting point for many.
- Bundled Software: Many interfaces come with free DAWs (Digital Audio Workstations) and plugins, which can save you money and get you started quickly. The Focusrite Scarlett series, for example, includes Ableton Live Lite and Pro Tools First.
- Durability: A robust build quality that can withstand the rigors of home recording and transport.
- Clear Gain Staging: Look for preamps that offer enough gain to properly amplify your signals without introducing excessive noise.
Quick Tip: Pay attention to the placement of controls. Front-panel knobs for gain and headphone volume are much more convenient than reaching around the back of the interface.
Top Audio Interface Recommendations for Beginners
Here’s a quick rundown of popular choices, building on information from the pillar article.
| Interface | Price Range | Key Features | Best For | Potential Drawbacks |
|---|---|---|---|---|
| Focusrite Scarlett Solo | Budget | Simple, good preamps, bundled software | Solo musicians, singer-songwriters | Limited I/O, shared volume control for monitors and headphones, potential driver issues |
| PreSonus Studio 24c | Mid-Range | 24-bit/192 kHz, XMAX-L preamps, included Studio One Artist DAW | Musicians who value high-resolution audio and want a bundled DAW | May require more computing power, limited manufacturer support |
| M-Audio AIR 192 | 6 | Mid-Range | USB-C, A/D converters, Crystal preamps, low latency | Musicians who want USB-C connectivity and focus on low latency during recording |
| Audient iD4 | Mid-Range | High-quality AD-DA converters, JFET D.I input, scroll wheel for DAW control | Guitarists, those who want a premium sound quality in a small package | Only one mic preamp, Pricier |
| Audient EVO 4 | Budget | Easy-to-use interface, Audient EVO preamps, loopback functionality | Podcasters and Streamers | Less durable, potential connectivity issues when PC hibernates, no MIDI connectivity. |
| Behringer UMC22 | Budget | Budget Friendly, Integrates with DAW's | Musicians on a tight budget | Mic preamps are not the best. |
| IK Multimedia iRig Pro Duo 2 | Budget | Portable design, MIDI compatability | Musicians wanting a portable design | Fragile, plastic design. |
| Steinberg UR12 | Budget | Quality sound, easy to use | Musicians wanting quality sound | Setup is not easy, headphone jack requires a preamp. |
Setting Up Your Audio Interface: A Step-by-Step Guide
- Connect the interface to your computer: Use the provided USB or Thunderbolt cable.
- Install the drivers: Download and install the latest drivers from the manufacturer's website.
- Connect your microphones and instruments: Use XLR cables for microphones and instrument cables (TS or TRS) for guitars, keyboards, and other instruments.
- Connect your headphones and studio monitors: Connect your headphones to the headphone output on the interface. Connect your studio monitors to the line outputs, using balanced cables (TRS) for best results.
- Launch your DAW: Open your preferred DAW (e.g., Ableton Live, Pro Tools, Logic Pro X, Studio One).
- Select your audio interface as the input and output device: In your DAW's preferences or settings, choose your audio interface as the audio input and output device.
- Adjust your input levels: Use the gain knobs on the interface to set the input levels for your microphones and instruments. Aim for a healthy signal level without clipping (distortion).
- Monitor your audio: Use the direct monitoring feature (if available) or enable monitoring in your DAW to hear your input signals through your headphones or speakers.
Troubleshooting Tip: If you're not hearing any sound, double-check that the interface is properly connected, the drivers are installed correctly, and the input and output devices are selected in your DAW. Also, make sure the volume knobs on the interface and in your DAW are turned up.
Optimizing Your Recording Workflow
Once your interface is set up, here are some tips for optimizing your recording workflow:
- Gain Staging: Proper gain staging is crucial for getting a clean, noise-free recording. Experiment with different microphone placements and preamp settings to find the sweet spot.
- Acoustic Treatment: Even a basic level of acoustic treatment can significantly improve the sound of your recordings. Consider using acoustic panels or foam to absorb reflections and reduce unwanted reverb.
- Headphone Monitoring: Use closed-back headphones for recording to prevent sound from bleeding into your microphones.
- Experiment with Plugins: DAWs come with a wealth of plugins that can be used to shape and enhance your sound. Explore different EQ, compression, and reverb plugins to find what works best for your music.
Addressing Common Concerns
Q: Do I really need an audio interface? Can't I just use my computer's built-in sound card?
A: While you can use your computer's built-in sound card, a dedicated audio interface offers significantly better sound quality, lower latency, and more versatile connectivity. If you're serious about recording music, an audio interface is an essential investment.
Q: What's the difference between USB and Thunderbolt interfaces?
A: Thunderbolt interfaces generally offer faster speeds and lower latency than USB interfaces. However, USB-C interfaces are closing the gap, and the difference may not be noticeable for many beginners. Thunderbolt is typically found on higher-end interfaces and requires a Thunderbolt-compatible computer.
Q: How many inputs and outputs do I need?
A: The number of inputs and outputs you need depends on your recording setup. If you only plan to record one or two instruments or vocals at a time, a 2-in/2-out interface will likely suffice. If you plan to record a drum kit or a band live, you'll need an interface with more inputs.
Q: What is "phantom power?"
A: Phantom power is a DC voltage (typically 48V) supplied by the audio interface to power condenser microphones. Condenser microphones require phantom power to operate, while dynamic microphones do not. Most audio interfaces have a switch to enable or disable phantom power.
Your First Recording Steps
- Choose your interface: Based on the advice above, select the interface that best fits your use case.
- Set it up: Follow the steps outlined to connect, install drivers, and connect your instruments.
- Record something!: Don't get bogged down in perfection right away. Experiment with different sounds and microphone positions.
- Review and adjust: Listen back to your recordings and adjust your settings accordingly. This iterative process is key to improving your sound over time.
Investing in a good audio interface is one of the most impactful steps you can take toward creating professional-sounding recordings. By understanding the key specifications, choosing the right interface for your needs, and optimizing your recording workflow, you'll be well on your way to bringing your musical ideas to life.